為什麼需要有延遲載入機制?
這是我們目前的路由設定
const routes: Routes = [
  { path: 'login', component: LoginComponent },
  {
    path: 'manage',
    component: ManageComponent,
    children: [
      { path: 'home', component: HomeComponent },
      { path: 'todo', component: TodoComponent },
      { path: '', redirectTo: 'home', pathMatch: 'full' }
    ]
  },
  { path: '', redirectTo: '/login', pathMatch: 'full' },
  { path: '**', component: NotfoundComponent },
];
隨著專案的擴大,路由設定會越來越大,元件也會越來越多
元件一多,就會有兩個直接影響的地方,就是檔案大小跟載入時間
檔案大太,使用者第一次進入系統就必須要等待檔案下載完
元件太多,所需要載入的時間就越多
如果專案已有上百的元件,都不模組化且設置延遲載入
那使用者第一次進到系統,可能就需要等個數秒鐘,畫面才會顯現
如此,使用者體驗一定不好
那模組化且延遲載入會有什麼效果?簡單來說就是將原先的專案,切成數塊模組
等到有需要用到的時候,再進行下載和載入
雖然下載和載入的總時長不變,但由於分散了時間,每個模組分別只要百毫秒內就能完成下載及載入
因此使用者感受不到等待時間,從而提升更好的使用者體驗
知道了為什麼要模組化和延遲載入的原因後,我們就要開始來實作了
首先我們先從login開始改造,先在app目錄下指令
ng g m login --routing前面是產生一個新的module,後面是一併產生路由設定檔,因此會產生以下兩個檔案

接著改login-routing.module.ts的路由設定
import { LoginComponent } from './login.component';
import { NgModule, Component } from '@angular/core';
import { RouterModule, Routes } from '@angular/router';

const routes: Routes = [
  {
    path: '',
    component: LoginComponent
  }
];

@NgModule({
  imports: [RouterModule.forChild(routes)],
  exports: [RouterModule]
})
export class LoginRoutingModule { }
再到app-routing.module.ts改成延遲載入login
const routes: Routes = [
  {
    path: 'login',
    loadChildren: () => import('./login/login.module').then(m => m.LoginModule)
  },
  {
    path: 'manage',
    component: ManageComponent,
    children: [
      { path: 'home', component: HomeComponent },
      { path: 'todo', component: TodoComponent },
      { path: '', redirectTo: 'home', pathMatch: 'full' }
    ]
  },
  { path: '', redirectTo: '/login', pathMatch: 'full' },
  { path: '**', component: NotfoundComponent },
];loadChildren就是延遲載入的寫法,存檔後我們就可以來看看有沒有延遲載入了
先到http://localhost:4200/manage/home網址,並F12打開Network分頁觀察
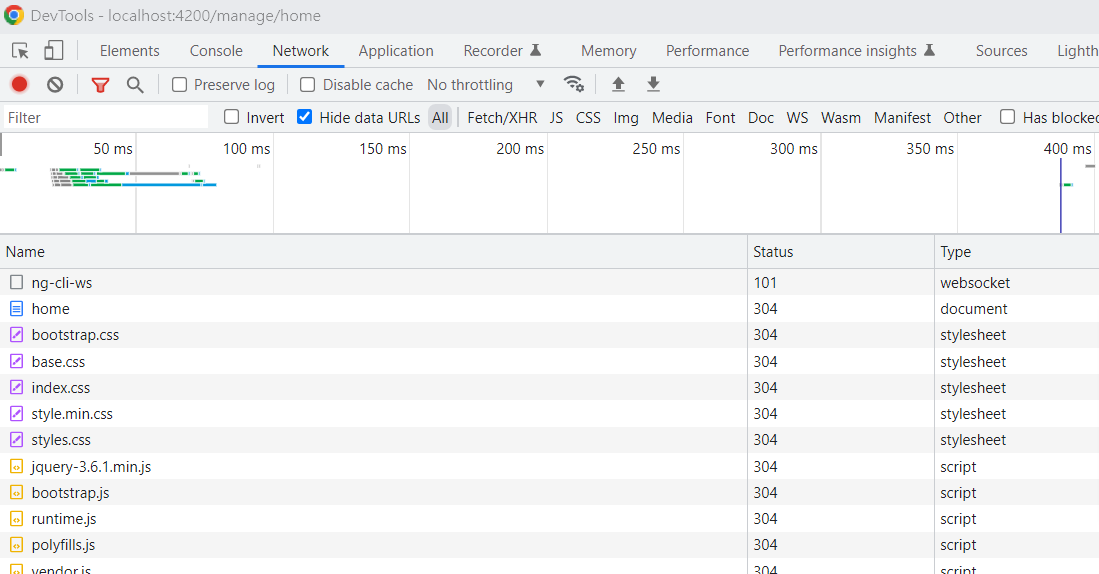
可先按左上清空,接著我們按下登出,返回登入頁
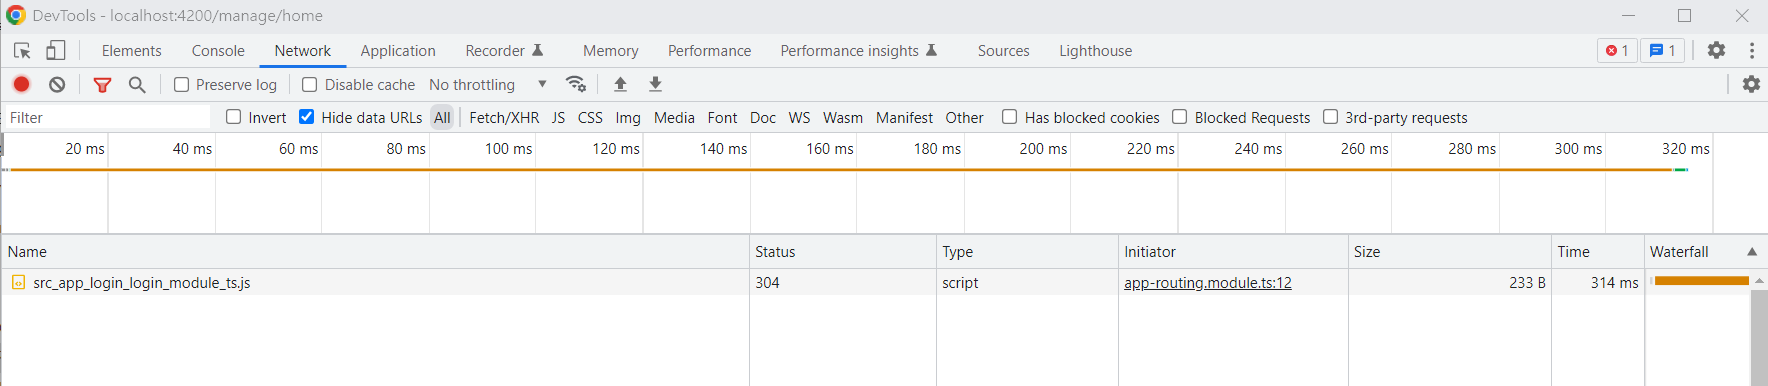
會發現返回登入頁的同時,才會下載登入的module檔,但其實時間非常短暫,只有314毫秒,因此幾乎也感受不到有在載入
而此時其實我們可以把原本在app.module.ts裡的LoginComponent,因為這個元件已經獨立到login.module.ts裡了
而模組化另一個好處就是降低依賴性,未來如果你該個模組要替換或移除,直接刪掉就好,不會影響原有的程式運作
那我們再來將我們的manage也模組化吧
manage-routing.module.ts
import { NgModule } from '@angular/core';
import { RouterModule, Routes } from '@angular/router';
import { HomeComponent } from './home/home.component';
import { ManageComponent } from './manage.component';
import { TodoComponent } from './todo/todo.component';

const routes: Routes = [
  {
    path: '',
    component: ManageComponent,
    children: [
      { path: 'home', component: HomeComponent },
      { path: 'todo', component: TodoComponent },
      { path: '', redirectTo: 'home', pathMatch: 'full' }
    ]
  }
];

@NgModule({
  imports: [RouterModule.forChild(routes)],
  exports: [RouterModule]
})
export class ManageRoutingModule { }
app-routing.module.ts
import { NotfoundComponent } from './notfound/notfound.component';
import { NgModule } from '@angular/core';
import { RouterModule, Routes } from '@angular/router';

const routes: Routes = [
  {
    path: 'login',
    loadChildren: () => import('./login/login.module').then(m => m.LoginModule)
  },
  {
    path: 'manage',
    loadChildren: () => import('./manage/manage.module').then(m => m.ManageModule)
  },
  { path: '', redirectTo: '/login', pathMatch: 'full' },
  { path: '**', component: NotfoundComponent },
];

@NgModule({
  imports: [RouterModule.forRoot(routes)],
  exports: [RouterModule]
})
export class AppRoutingModule { }
那記得我們app.module.ts有關manage的元件也都要移到manage-routing.module.ts
manage-routing.module.ts
@NgModule({
  declarations: [
    TodoComponent,
    HeaderComponent,
    SectionComponent,
    FooterComponent,
    TodoInfoModalComponent,
    MenuComponent,
    Header2Component,
    HomeComponent,
    ManageComponent
  ],
  imports: [
    CommonModule,
    ManageRoutingModule,
    FormsModule,
  ]
})
export class ManageModule { }
app.module.ts
@NgModule({
  declarations: [
    AppComponent,
    NotfoundComponent
  ],
  imports: [
    BrowserModule,
    FormsModule,
    HttpClientModule,
    AppRoutingModule
  ],
  providers: [],
  bootstrap: [AppComponent]
})
export class AppModule { }
到這邊,我們可以看看程式是否正常運作,基本上是沒問題
那最後我們再來ManageModule新增一個帳號管理頁面,那我通常都是一個功能會將它獨立成一個module
所以這邊可以在manage資料夾下另一個指令,同時產生整包的檔案
ng g m account --route account --module manage.module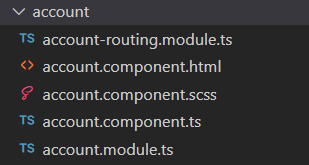
不過manage.module.ts幫我們加的位置不太對,我們要自己調整一下
const routes: Routes = [
  {
    path: '',
    component: ManageComponent,
    children: [
      { path: 'home', component: HomeComponent },
      { path: 'todo', component: TodoComponent },
      { path: 'account', loadChildren: () => import('./account/account.module').then(m => m.AccountModule) },
      { path: '', redirectTo: 'home', pathMatch: 'full' }
    ]
  },
];
接著我們就可以先試試,是否可以正常連到account頁面,基本上是沒問題的
最後,home跟todo留給大家試著改成延遲載入
範例檔會是改完的狀態
範例檔:下載