這個示範,我們先不管太多觀念,主要先把第一個MVC頁面給建立起來
感受一下MVC專案開發的感覺
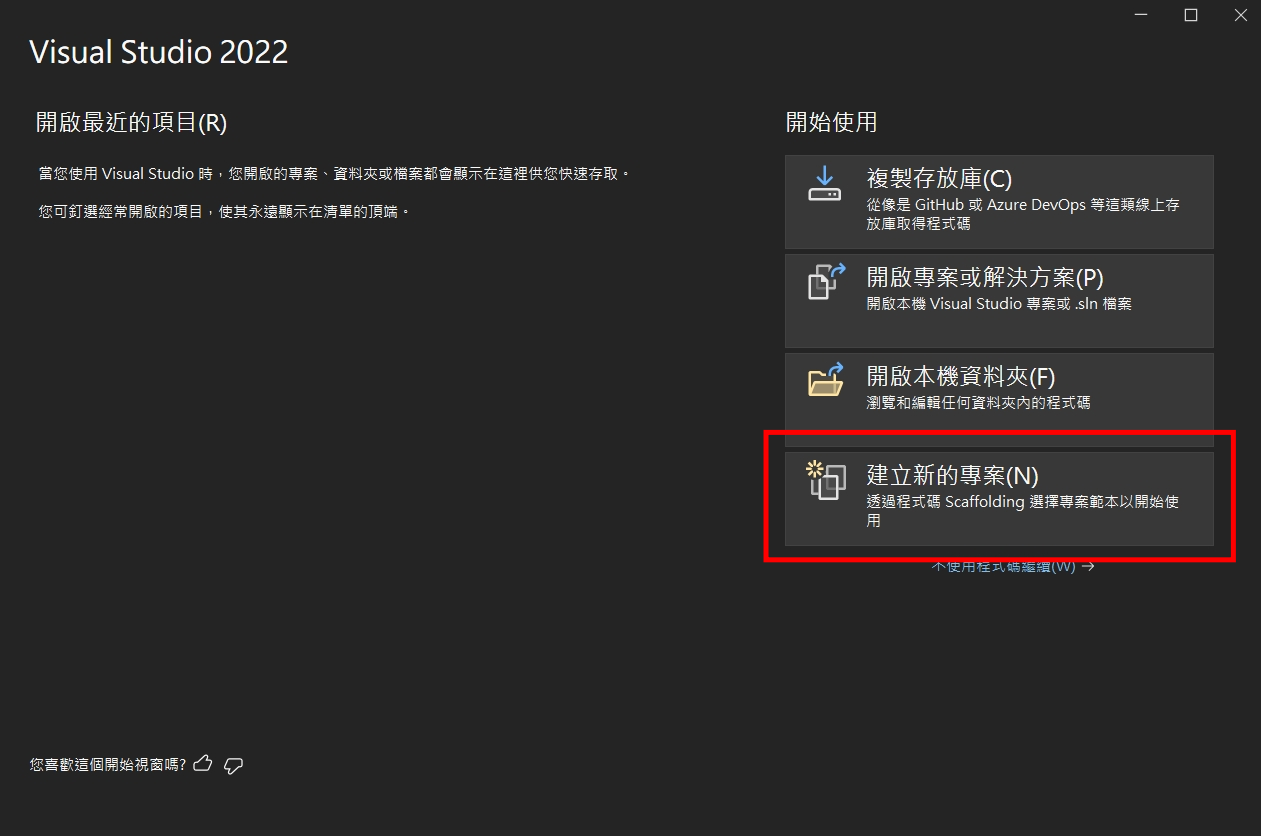
建立新的專案
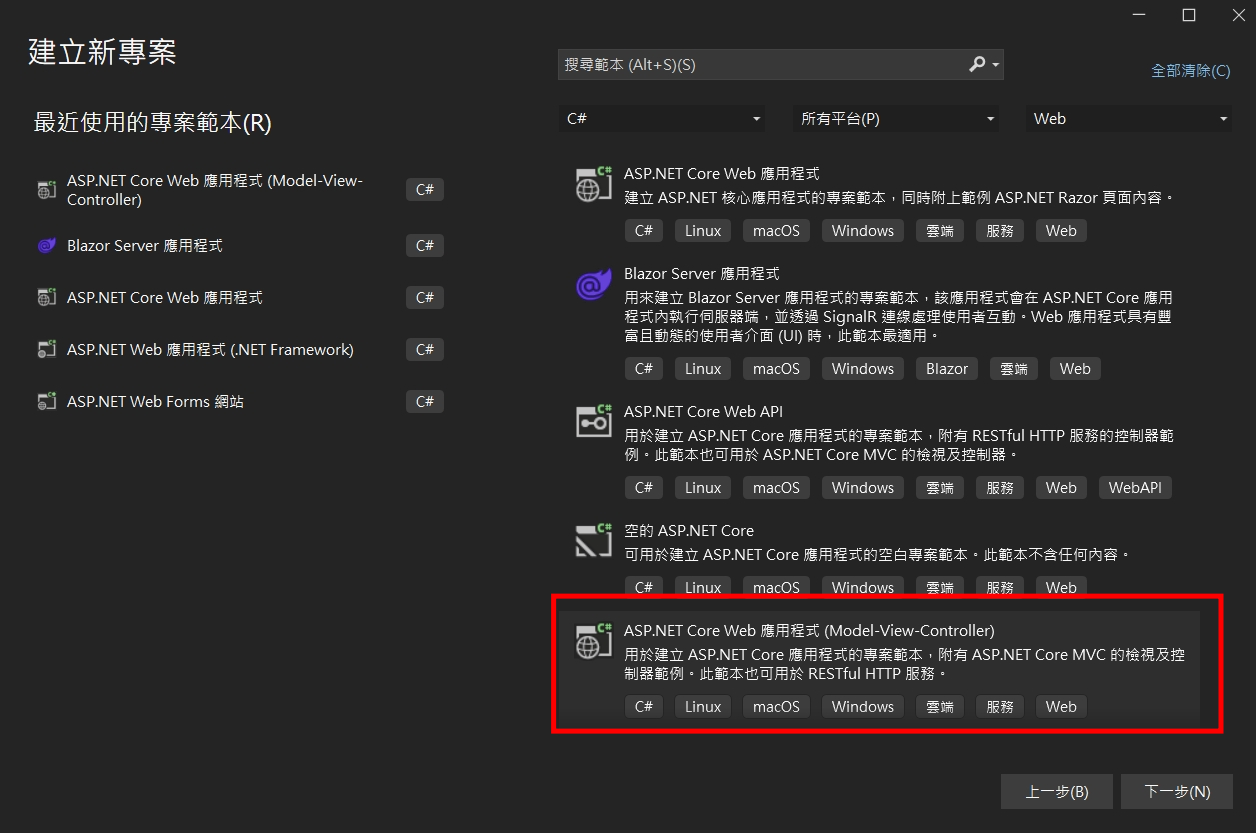
選擇ASP.NET Core Web應用程式(Model-View-Controller)
專案名稱打上HelloWorld
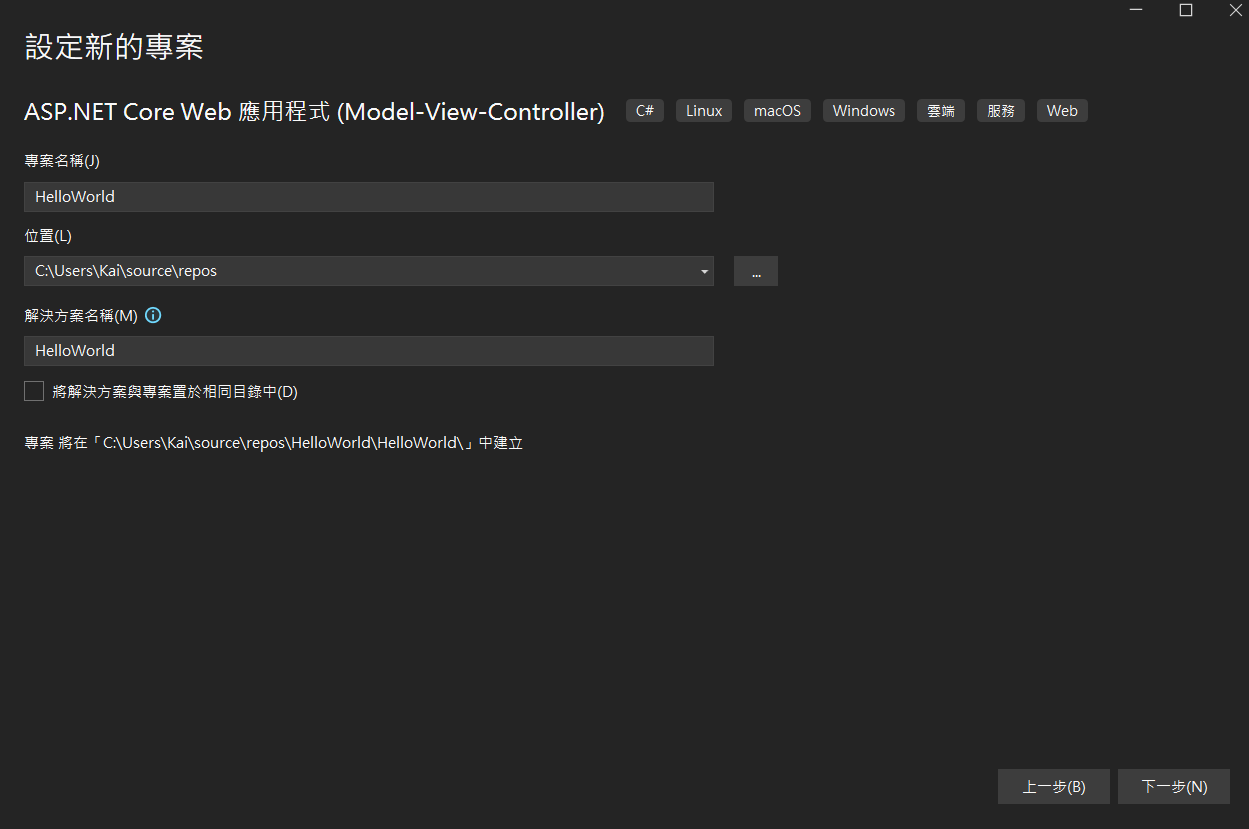
預設不變,建立專案

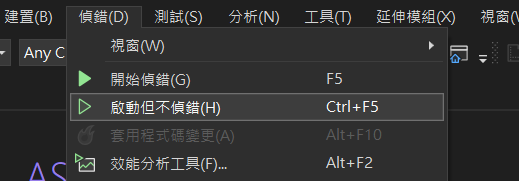
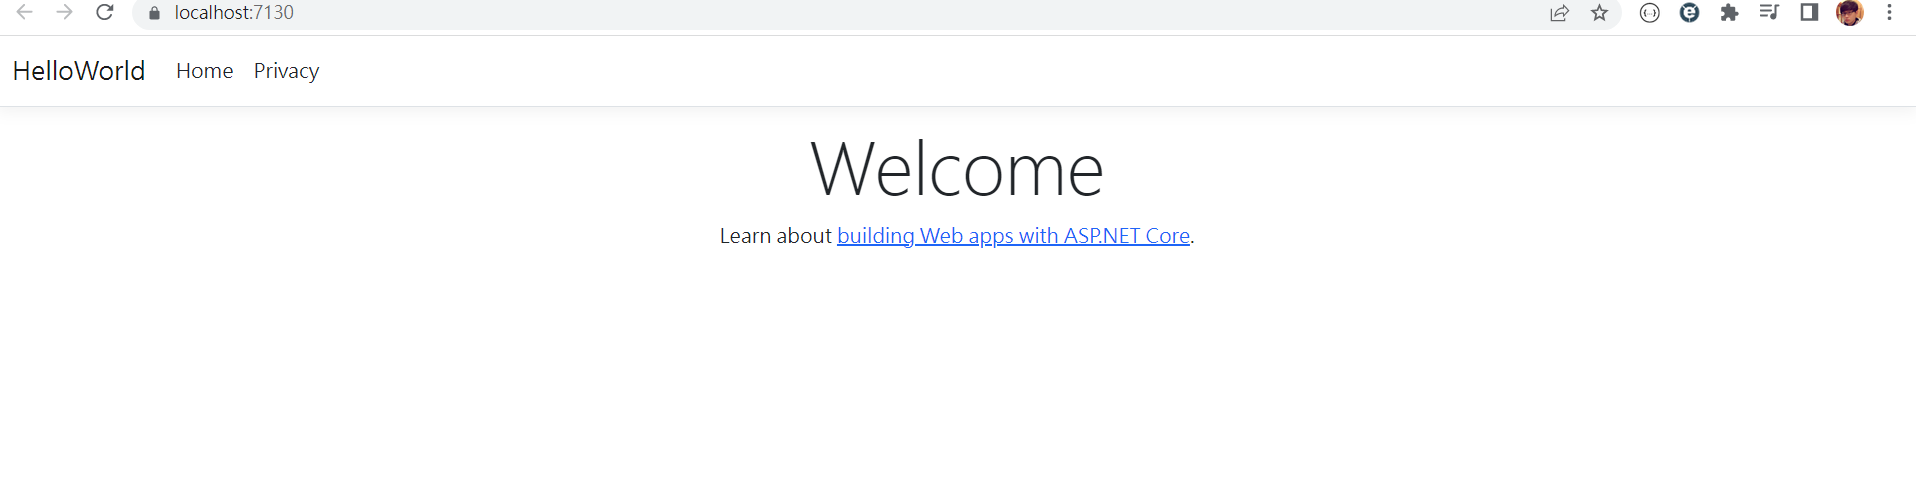
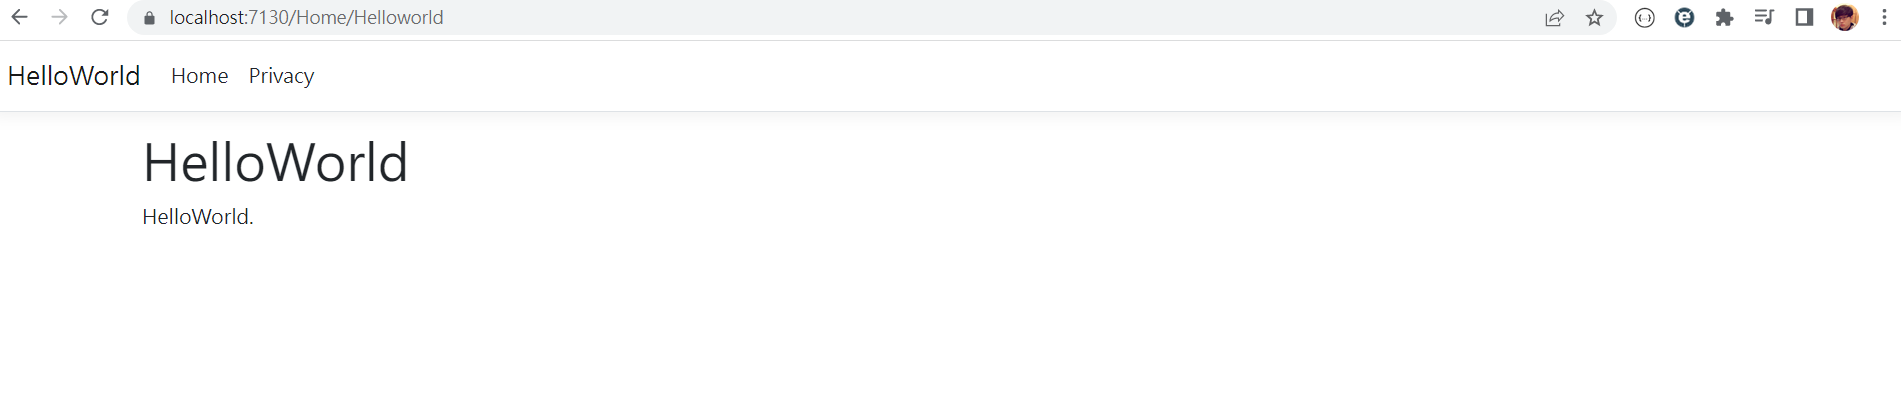
先執行啟動不偵錯,看看預設專案範本長什麼樣子
可以看到專案有建好了Home、Privacy兩個頁面,那我們試著增加HelloWorld頁面
其實Home連結有另一個網址是/Home/Index

那我們現在要來建立一個/Home/HelloWorld頁面,首先要去HomeController.cs,增加一個HelloWorld的方法,很簡單的我們就依照Index跟Privacy建一個一模一樣的方法
namespace HelloWorld.Controllers
{
    public class HomeController : Controller
    {
        private readonly ILogger<HomeController> _logger;

        public HomeController(ILogger<HomeController> logger)
        {
            _logger = logger;
        }

        public IActionResult Index()
        {
            return View();
        }

        public IActionResult Privacy()
        {
            return View();
        }

        //這邊
        public IActionResult HelloWorld()
        {
            return View();
        }


        [ResponseCache(Duration = 0, Location = ResponseCacheLocation.None, NoStore = true)]
        public IActionResult Error()
        {
            return View(new ErrorViewModel { RequestId = Activity.Current?.Id ?? HttpContext.TraceIdentifier });
        }
    }
}
存檔之後,我們打上/Home/HelloWorld就可以了嗎,當然還不行,會出現以下畫面
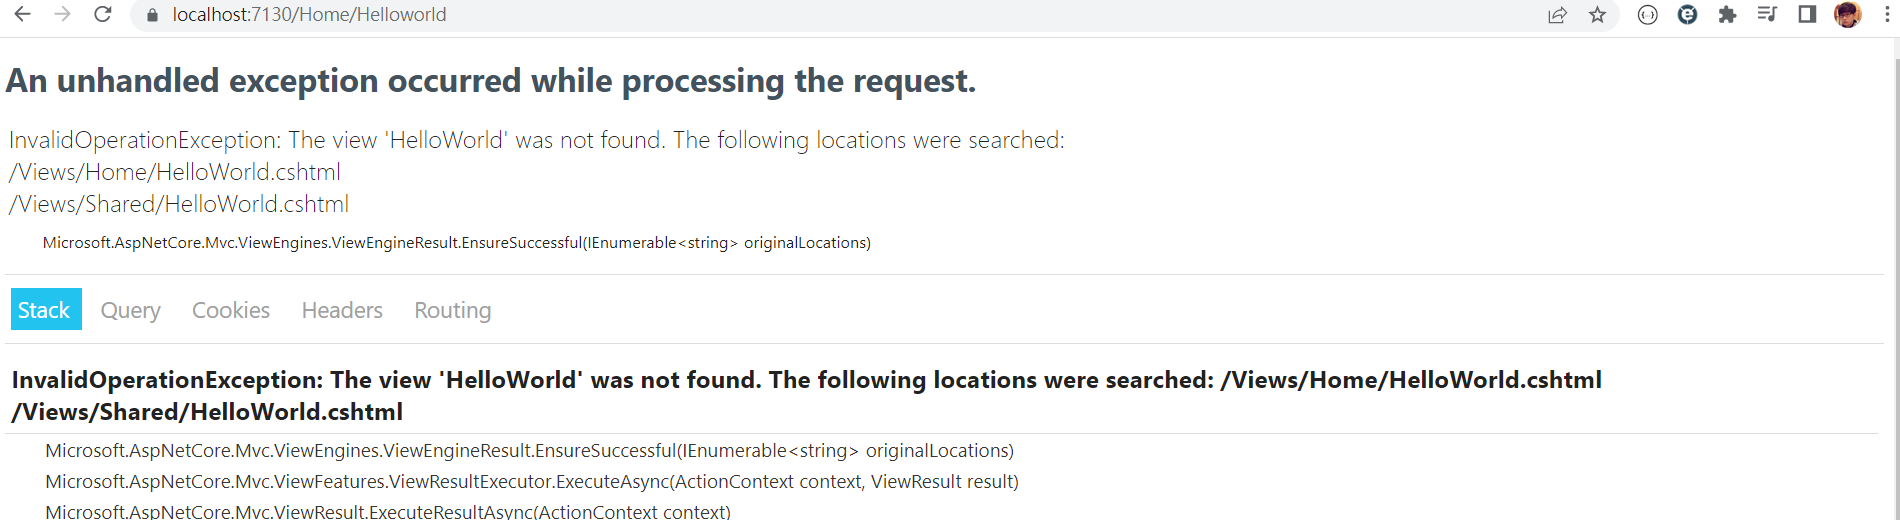
其實開發ASP.NET很友善,錯誤訊息通常也很容易看得懂,這裡明確說到,就是我們少了HelloWorld.cshtml,在指示中的兩個資料夾下
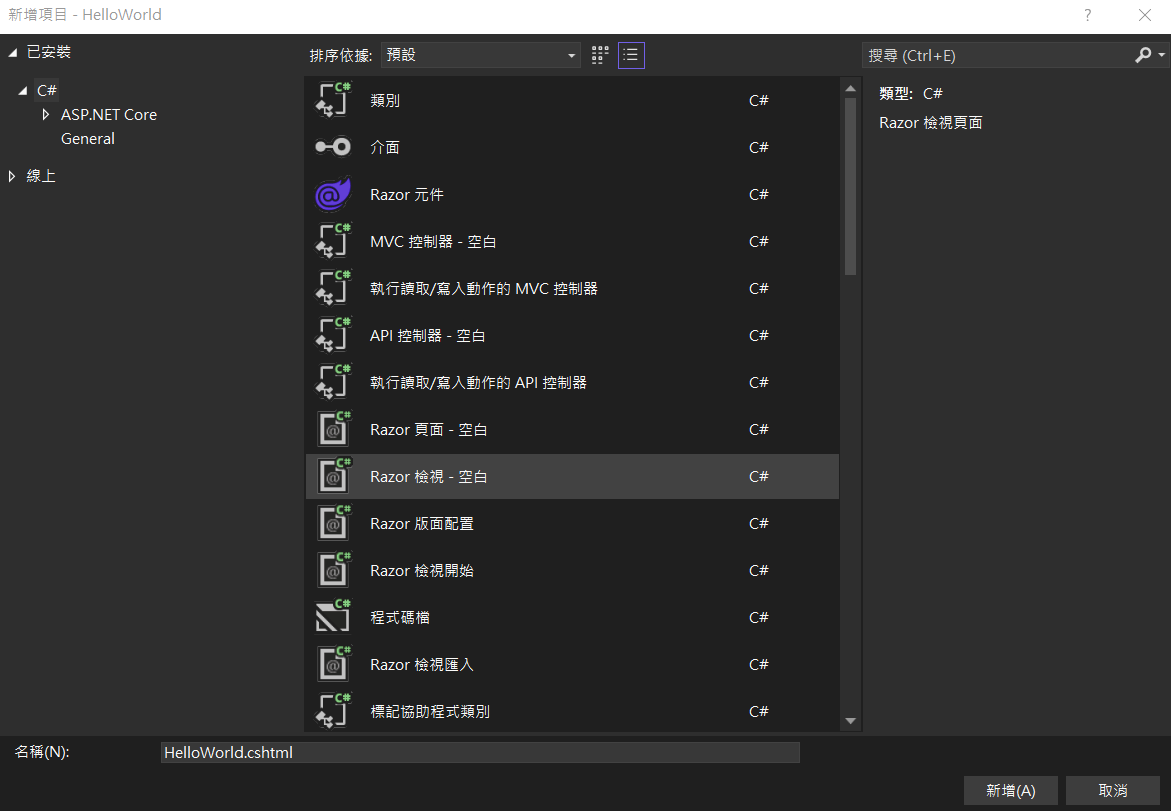
那我們可邊可以快速建立一個對應的View,對著程式碼中的View案右鍵,新增檢視
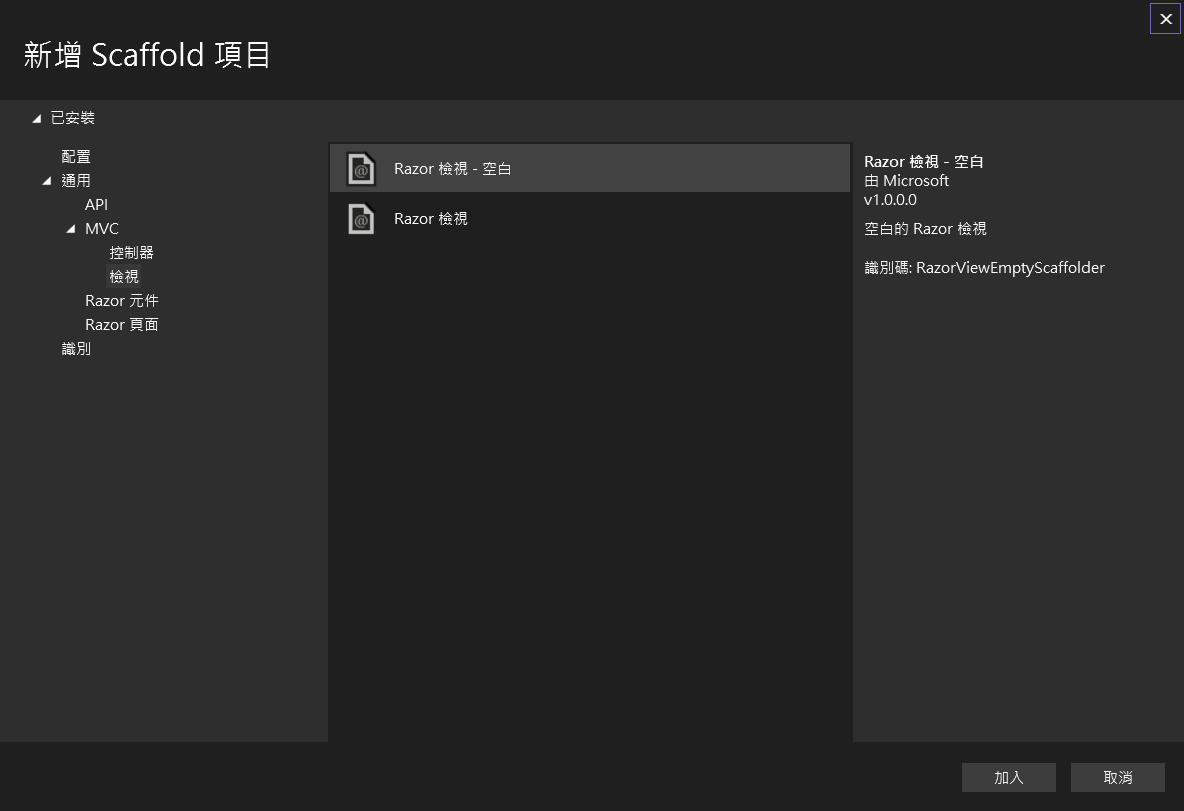
選擇Razor - 空白,名稱我們就打上HelloWorld.cshtml
這邊我們複製Privacy.cshtml的內容,在HelloWorld.cshtml,改成我們要的內容
@{
    ViewData["Title"] = "HelloWorld";
}
<h1>@ViewData["Title"]</h1>

<p>HelloWorld.</p>
之後再回到瀏覽器,我們HelloWorld的頁面就出現啦
那可以看到上面有連結,我們要到哪裡新增呢?這時就要到View/Shared/_Layout.cshtml,如下圖的html頁面打上連結
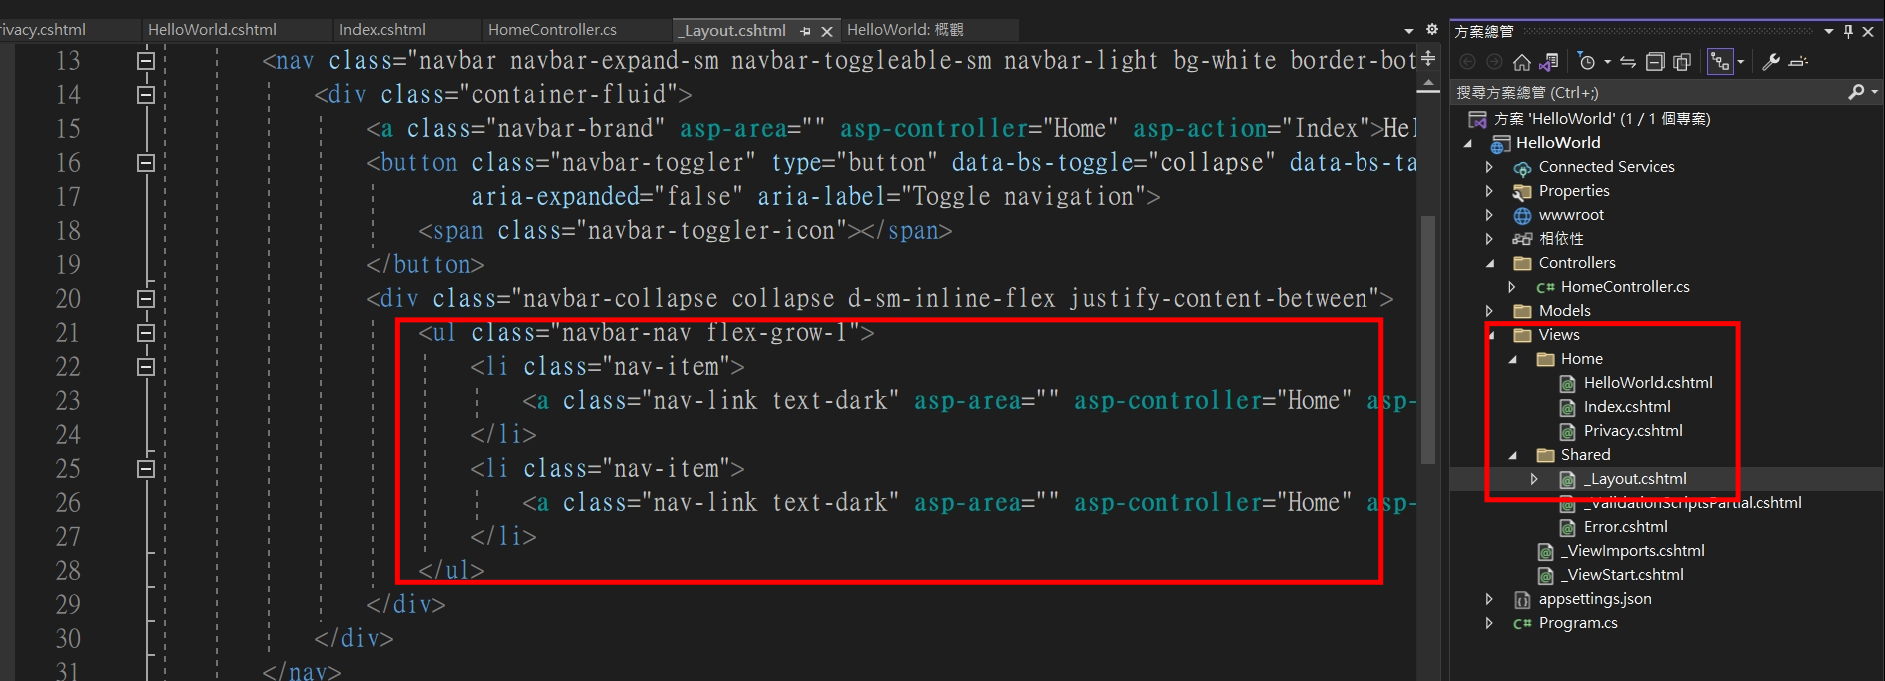
我們複製現有的然後改成HelloWorld,至於這是什麼語法,我們之後會再談到,今天我們就先直接照著改就好
<li class="nav-item">
<a class="nav-link text-dark" asp-area="" asp-controller="Home" asp-action="HelloWorld">HelloWorld</a>
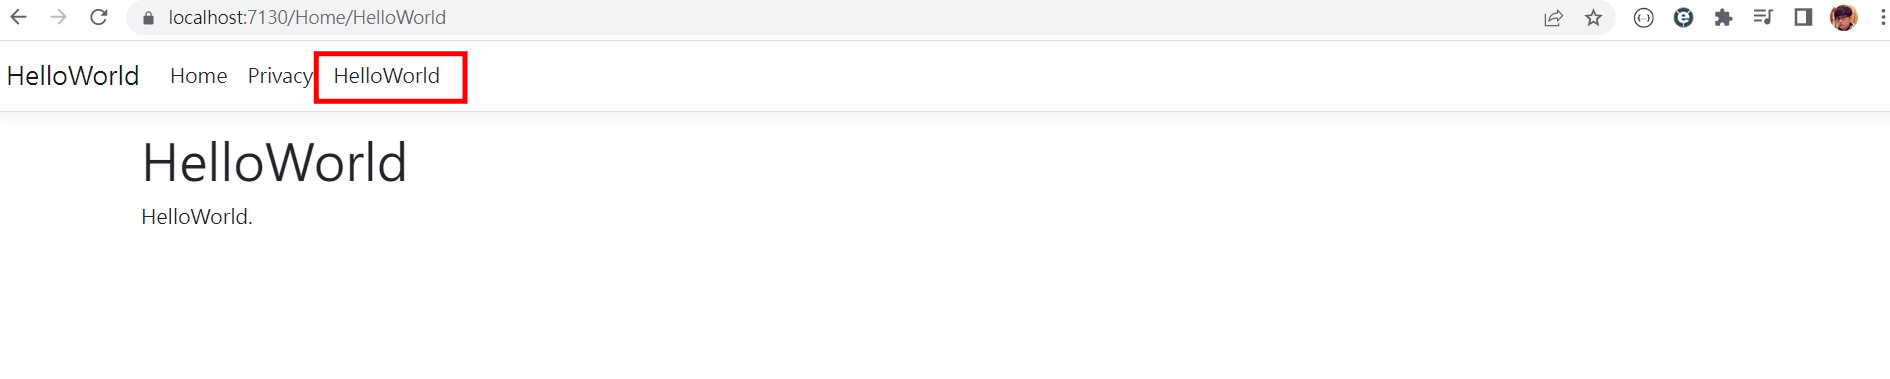
</li>存檔之後,我們的連結就出現了
那以上就是一個建立MVC頁面的一個流程
至於原理觀念,或者我想要建立一個新的Controllers怎麼做,就等到之後的章節在一步步講解了
今天就先抓一個感覺,想聽更多的廢話可以看影片
新手分享學習成果,若有錯誤,煩請告知修正,感謝🙏