影片講解
一個小型的系統已經完成了
所以可以開始進一步優化程式部份了
那方法就是這章節要介紹的service
那service的基本功用,就是將你程式分割提取出去
那為什麼要進行程式上的分割呢?
比較常見的原因有以下三種
- 共用性:就是有兩個地方會用到相同的程式,那我們就會把它寫成一個service。
- 單一職責:這個service只負責同一類的事情,這樣會方便後續維護。
- 商業邏輯:把商業邏輯部分寫成一個service,也是可能利於後續的維護。
接下來的影片,會分別進行示範
這篇就先講解service基本的用法
首先,我們可以下一個指令,快速產生一個service的基本架構
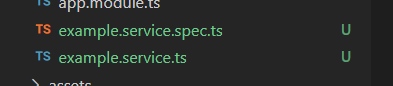
ng g s example接著就會在該目錄產生兩個檔案
那.spec的部分,我這個課程不會教到,而你以後也可能不會用到,所以我們可以到angular.json改設定,讓之後不會產生spec檔
找到schematics部分,在下方加上@schematics/angular:service,如下
"schematics": {
  "@schematics/angular:component": {
    "style": "scss"
  },
  "@schematics/angular:service": {
    "skipTests": true
  }
},
skipTests:true後,下次用指令產生service就不會有spec檔出現
接著我們簡單在剛產生的service寫個小程式
import { Injectable } from '@angular/core';

@Injectable({
  providedIn: 'root'
})
export class ExampleService {
  num = 0;

  constructor() { }

  add() {
    this.num++;
  }

}
裡面就一個變數跟方法,按下去後會加1
之後我們回到我們要使用的Component中,這邊我先增加兩個Component
至於Component的基本概念,下一章節就會介紹,這邊先看著就好
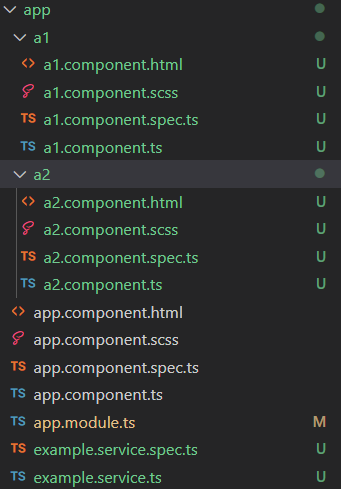
如上圖有a1跟a2的Component,接著來到app.component.html加入a1跟a2
app.component.html
<app-a1></app-a1>
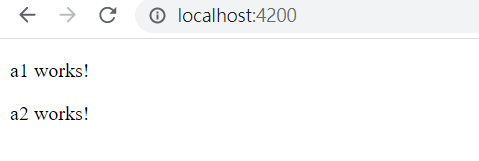
<app-a2></app-a2>如此在瀏覽器上面就會看到a1跟a2的內容
接著我們就要在a1跟a2中使用剛剛創建的service
@Component({
  selector: 'app-a1',
  templateUrl: './a1.component.html',
  styleUrls: ['./a1.component.scss']
})
export class A1Component implements OnInit {


  //這邊進行service的宣告
  constructor(private exampleService:ExampleService) { }

  ngOnInit(): void {
  }

}
在constructor中進行以上的宣告後,就能夠使用
接著我們增加一個變數跟方法
export class A1Component implements OnInit {
  get num() {
    return this.exampleService.num;
  }

  constructor(private exampleService: ExampleService) { }

  ngOnInit(): void {
  }

  add() {
    this.exampleService.add();
  }

}
變數是讀取ExampleService中的num變數,而add方法則是呼叫ExampleService中的add方法
接下來我們再到a1.component.html中放上對應要的東西,同時也在a2做一樣的事
<p>a1 works!</p>
{{num}}
<br>
<button (click)="add()">加一</button>
最後完成畫面如下
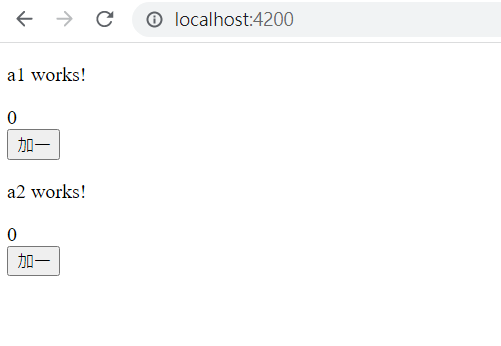
這時我們試著點擊"加一"看看會有什麼效果
可以看到a1跟a2的num是同步增加的,這代表了一件事情,我們這一個service是共用的
回到我們的example.service.ts,可以看到上面有一段這個
@Injectable({
  providedIn: 'root'
})
其中providedIn: ‘root’代表是幫我們providers到根模組
如果我們那掉這行試試看,會發現程式出現錯誤了
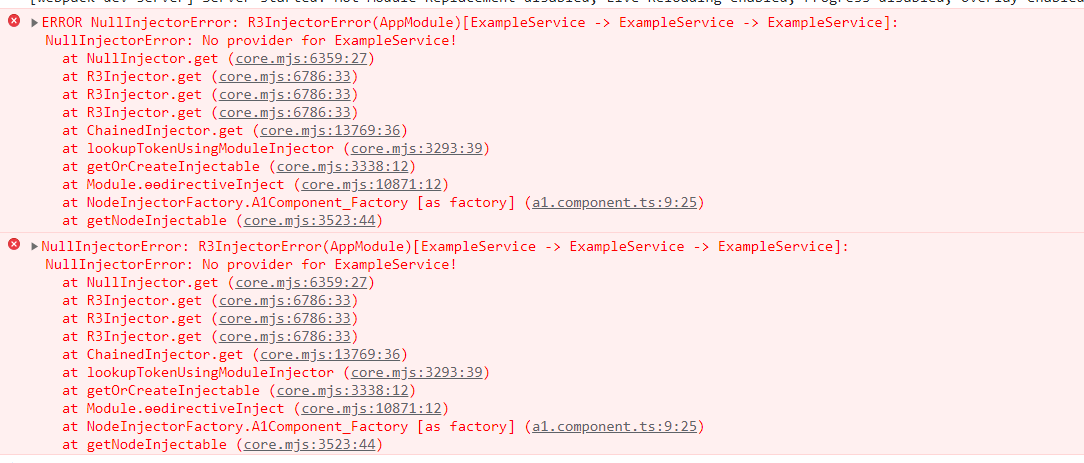
這個錯誤的意思是說,service沒有provider,所以無法使用
那早期其實沒有providedIn: ‘root’功能,所以我們會自行到app.module.ts註冊
import { NgModule } from '@angular/core';
import { BrowserModule } from '@angular/platform-browser';

import { AppComponent } from './app.component';
import { A1Component } from './a1/a1.component';
import { A2Component } from './a2/a2.component';
import { ExampleService } from './example.service';

@NgModule({
  declarations: [
    AppComponent,
    A1Component,
    A2Component
  ],
  imports: [
    BrowserModule
  ],
  //這邊進行註冊
  providers: [ExampleService],
  bootstrap: [AppComponent]
})
export class AppModule { }
此時存檔後,就會發現程式又正常運作了,而運作情況根剛剛是一樣的
那以上的兩種provider方式,會讓service是一個共用的狀態
不過其實我們可以分別provider到各自的Component中,如下
@Component({
  selector: 'app-a1',
  templateUrl: './a1.component.html',
  styleUrls: ['./a1.component.scss'],
  //這邊註冊
  providers: [ExampleService]
})
export class A1Component implements OnInit {
  get num() {
    return this.exampleService.num;
  }

  constructor(private exampleService: ExampleService) { }

  ngOnInit(): void {
  }

  add() {
    this.exampleService.add();
  }

}
此時我們再來看看效果
這時會發現我們的service中的num變數,已經沒有共用了,而是分別獨立的個體
那這個就是service基本的概念,跟不同依賴注入的效果
利用這種不同的注入方式,就可以依實際情況靈活的調用service
不過通常只有少部分會有獨立運作的需求,所以預設上現在都直接先註冊到root
好~~~光看介紹一定很難理解到底實際上的用處
所以我下一個影片馬上就會用todo範例實際操作service的用法
想看更多廢話,可以看影片~~~