這一節教用NET Core的內建的簡易驗證系統來做登入登出
我們先建立一個登入頁面,那就需要建立一個LoginController.cs和對應的View
LoginController.cs
namespace Kcg.Controllers
{
    public class LoginController : Controller
    {
        public IActionResult Index()
        {
            return View();
        }

        [HttpPost]
        public IActionResult Index(LoginDto value)
        {
            return View();
        }
    }
}
這邊會有一個get時的方法,跟post送出帳密的方法,所以有兩個,其中post會接收到一組帳密,所以用LoginDto來接收
namespace Kcg.Dtos
{
    public class LoginDto
    {
        [DisplayName("帳號")]
        public string Account { get; set; }


        [DisplayName("密碼")]
        public string Password { get; set; }
    }
}
接著來做Login的view頁面
@model LoginDto
@{
    Layout = null;
}


<!DOCTYPE html>
<html lang="zh-hant">
<head>
    <title>凱哥寫程式登入</title>

    <link rel="preconnect" href="https://fonts.gstatic.com">
    <link rel="stylesheet" href="https://cdnjs.cloudflare.com/ajax/libs/font-awesome/5.15.4/css/all.min.css">
    <link href="https://fonts.googleapis.com/css2?family=Poppins:wght@300;500;600&display=swap" rel="stylesheet">
    <!--Stylesheet-->
    <style media="screen">
        *,
        *:before,
        *:after {
            padding: 0;
            margin: 0;
            box-sizing: border-box;
        }

        body {
            background-color: #080710;
        }

        .background {
            width: 430px;
            height: 520px;
            position: absolute;
            transform: translate(-50%,-50%);
            left: 50%;
            top: 50%;
        }

            .background .shape {
                height: 200px;
                width: 200px;
                position: absolute;
                border-radius: 50%;
            }

        .shape:first-child {
            background: linear-gradient( #1845ad, #23a2f6 );
            left: -80px;
            top: -80px;
        }

        .shape:last-child {
            background: linear-gradient( to right, #ff512f, #f09819 );
            right: -30px;
            bottom: -80px;
        }

        form {
            height: 500px;
            width: 400px;
            background-color: rgba(255,255,255,0.13);
            position: absolute;
            transform: translate(-50%,-50%);
            top: 50%;
            left: 50%;
            border-radius: 10px;
            backdrop-filter: blur(10px);
            border: 2px solid rgba(255,255,255,0.1);
            box-shadow: 0 0 40px rgba(8,7,16,0.6);
            padding: 50px 35px;
        }

            form * {
                font-family: 'Poppins',sans-serif;
                color: #ffffff;
                letter-spacing: 0.5px;
                outline: none;
                border: none;
            }

            form h3 {
                font-size: 32px;
                font-weight: 500;
                line-height: 42px;
                text-align: center;
            }

        label {
            display: block;
            margin-top: 30px;
            font-size: 16px;
            font-weight: 500;
        }

        input {
            display: block;
            height: 50px;
            width: 100%;
            background-color: rgba(255,255,255,0.07);
            border-radius: 3px;
            padding: 0 10px;
            margin-top: 8px;
            font-size: 14px;
            font-weight: 300;
        }

        ::placeholder {
            color: #e5e5e5;
        }

        button {
            margin-top: 50px;
            width: 100%;
            background-color: #ffffff;
            color: #080710;
            padding: 15px 0;
            font-size: 18px;
            font-weight: 600;
            border-radius: 5px;
            cursor: pointer;
        }

        .social {
            margin-top: 30px;
            display: flex;
        }

            .social div {
                background: red;
                width: 150px;
                border-radius: 3px;
                padding: 5px 10px 10px 5px;
                background-color: rgba(255,255,255,0.27);
                color: #eaf0fb;
                text-align: center;
            }

                .social div:hover {
                    background-color: rgba(255,255,255,0.47);
                }

            .social .fb {
                margin-left: 25px;
            }

            .social i {
                margin-right: 4px;
            }

        .message {
            margin-top: 20px;
            text-align: center;
            color: white;
            font-weight: bold;
        }

    </style>
</head>
<body>
    <div class="background">
        <div class="shape"></div>
        <div class="shape"></div>
    </div>
    <form asp-action="Index">
        <h3>凱哥寫程式</h3>

        <label asp-for="Account"></label>
        <input asp-for="Account" placeholder="帳號" />

        <label asp-for="Password"></label>
        <input asp-for="Password" type="password" placeholder="密碼" />

        <button type="submit">登入</button>
        <div class="message">
            @(ViewBag?.Message ?? "")
        </div>
    </form>
</body>
</html>
這邊會宣告一個model
然後我們不套用主版型,所以會宣告Layout = null;
@model LoginDto
@{
    ViewData["Title"] = "凱哥寫程式登入";
    Layout = null;
}
最後後面做一個登入錯誤時的一個訊息提示
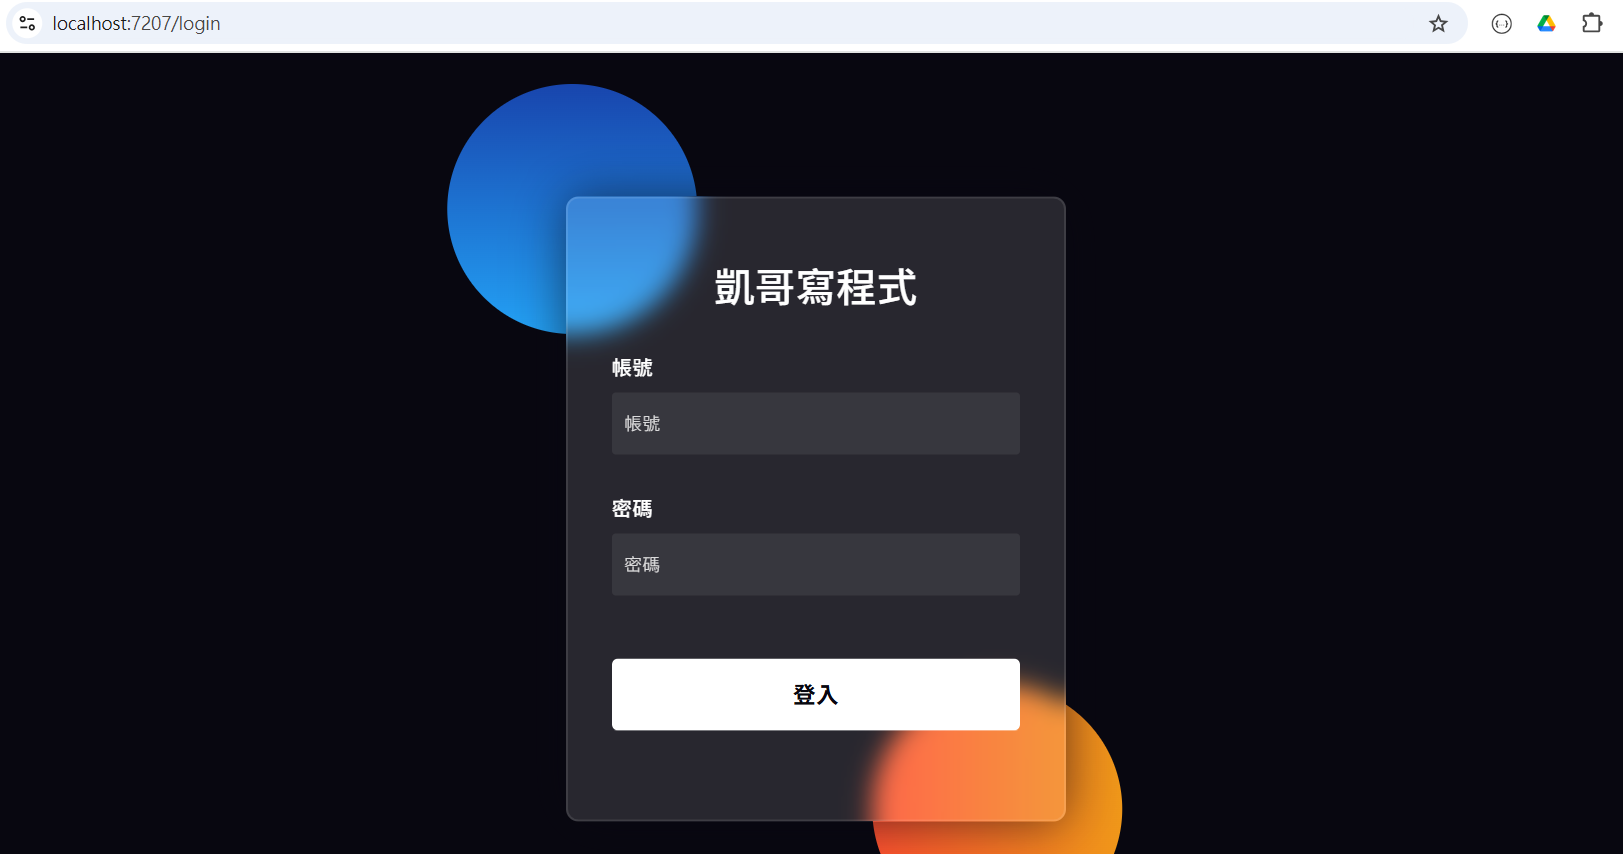
<div class="message">
    @(ViewBag?.Message ?? "")
</div>
這時可以看一下登入介面應該出現了
但此時還沒有登入功能,所以開始加上登入功能
[HttpPost]
public IActionResult Index(LoginDto value)
{
    if (value.Account.ToLower() == "TalllKai".ToLower() && value.Password == "123456")
    {
        var claims = new List<Claim>
                {
                    new Claim(ClaimTypes.Name, value.Account),
                    new Claim("FullName", "kai")
                };

        var claimsIdentity = new ClaimsIdentity(claims, CookieAuthenticationDefaults.AuthenticationScheme);
        HttpContext.SignInAsync(CookieAuthenticationDefaults.AuthenticationScheme, new ClaimsPrincipal(claimsIdentity));

        return RedirectToAction("Index", "Home");
    }
    else
    {
        ViewBag.Message = "帳號或密碼錯誤";
        return View(value);
    }
}
我們在Post的這個方法上加入內建的登入語法,那這邊我因為示範,帳號密碼就先寫死在程式裡
var claims = new List<Claim>
                {
                    new Claim(ClaimTypes.Name, value.Account),
                    new Claim("FullName", "kai")
                };
這邊是先宣告登入者的資訊,你可以放一些使用者的資訊進去,方便你其他地方取用,這之後會再講
var claimsIdentity = new ClaimsIdentity(claims, CookieAuthenticationDefaults.AuthenticationScheme);
        HttpContext.SignInAsync(CookieAuthenticationDefaults.AuthenticationScheme, new ClaimsPrincipal(claimsIdentity));
接著這段就是內建的語法,將你前面設定的使用者資訊做紀錄後,寫入登入的狀態到你本機的Cookie中
return RedirectToAction("Index", "Home");最後我們就將使用者導入到登入的第一頁頁面
ViewBag.Message = "帳號或密碼錯誤";
return View(value);
另外這個登入錯誤的提示訊息,我們就用ViewBag來做一個簡單的紀錄
然後可以先來測試一下程式流程正不正確,都正確無誤後
我們最後還要在實作登出的功能,我們先在內頁上方加一個登出的按鈕
<div class="navbar-collapse collapse d-sm-inline-flex justify-content-between">
    <ul class="navbar-nav  ms-auto">
        <li class="nav-item">
            <a class="nav-link text-dark" asp-area="" asp-controller="Login" asp-action="Index">登出</a>
        </li>
    </ul>
</div>
這按鈕也不用特別寫什麼功能,就直接導到登入頁面即可,因為我們會直接把登出的程式就寫在登入頁面就好
public IActionResult Index()
{
    HttpContext.SignOutAsync(CookieAuthenticationDefaults.AuthenticationScheme);
    return View();
}
這段程式就是會清除你本機Cookie的登入狀態,寫在這邊就是當你在登入頁面的時候就清理一下登入狀態,即使沒登入也沒差,反正一舉兩得
如此就做好我們登出登入的事前作業
但注意,此時並還沒有設定權限,所以即使沒登入還是進的了內頁,下一節才會仔細講解權限的設定
範例檔:下載