今天我們要來取得登入的使用者資訊,還記得我們之前再登入的時候有順便記錄一些登入者的資訊
那今天我們再來新增一個使用者EmployeeId進去
var claims = new List<Claim>
             {
                 new Claim(ClaimTypes.Name, employee.Account),
                 new Claim("FullName", employee.Name),
                 new Claim("EmployeeId", employee.EmployeeId.ToString())
             };
這哪些地方會用到呢?就是在我們新增或修改新聞時,我們會記錄編輯該則新聞的使用者是誰
當初我們這個地方是先寫死的InsertEmployeeId = 1
News insert = new News()
{
    Title = news.Title,
    Contents = news.Contents,
    DepartmentId = news.DepartmentId,
    StartDateTime = news.StartDateTime,
    EndDateTime = news.EndDateTime,
    Click = 0,
    Enable = true,
    InsertEmployeeId = 1,
    UpdateEmployeeId = 1
};
那今天就要修正為目前登入的使用者的id進去,所以就要在這個地方取得我們剛登入時,紀錄的登入者資訊
那在Controller時可以使用HttpContext的方式取得登入時寫入的Claim的資料
HttpContext.User.Claims但我們把程式都寫到Service之後就不能使用HttpContext,該怎麼辦呢
此時就可以使用一個服務來取得,但在使用該服務前,要先去program依賴注入該服務
builder.Services.AddHttpContextAccessor();接著就可以進Service取得了,這邊我們取得的是IHttpContextAccessor
public class NewsService : INewsService
{
    private readonly IHttpContextAccessor _httpContextAccessor;

    public NewsService(IHttpContextAccessor httpContextAccessor)
    {
        _httpContextAccessor = httpContextAccessor;
    }
}
接著來就可以進去新增的方法取得我們登入者的EmployeeId了
以下改寫一下新增的新增者跟更新者部分
public async Task 新增(NewsCreateDto news)
{

    var employeeId = _httpContextAccessor.HttpContext.User.Claims
          .FirstOrDefault(c => c.Type == "EmployeeId")?.Value;

    News insert = new News()
    {
        Title = news.Title,
        Contents = news.Contents,
        DepartmentId = news.DepartmentId,
        StartDateTime = news.StartDateTime,
        EndDateTime = news.EndDateTime,
        Click = 0,
        Enable = true,
        InsertEmployeeId = Int32.Parse(employeeId),
        UpdateEmployeeId = Int32.Parse(employeeId),
    };

    _context.News.Add(insert);

    await _context.SaveChangesAsync();
}
更新的部分也順便改寫
public async Task 修改(Guid id, NewsEditDto news)
{
    var update = _context.News.Find(id);

    if (update != null)
    {
        var employeeId = _httpContextAccessor.HttpContext.User.Claims
              .FirstOrDefault(c => c.Type == "EmployeeId")?.Value;

        update.Title = news.Title;
        update.Contents = news.Contents;
        update.DepartmentId = news.DepartmentId;
        update.StartDateTime = news.StartDateTime;
        update.EndDateTime = news.EndDateTime;
        update.Enable = news.Enable;

        update.UpdateEmployeeId = Int32.Parse(employeeId);
        update.UpdateDateTime = DateTime.Now;

        await _context.SaveChangesAsync();
    }
}
接著我們使用Test1帳號進去,看看有沒有成功會更新對應的使用者
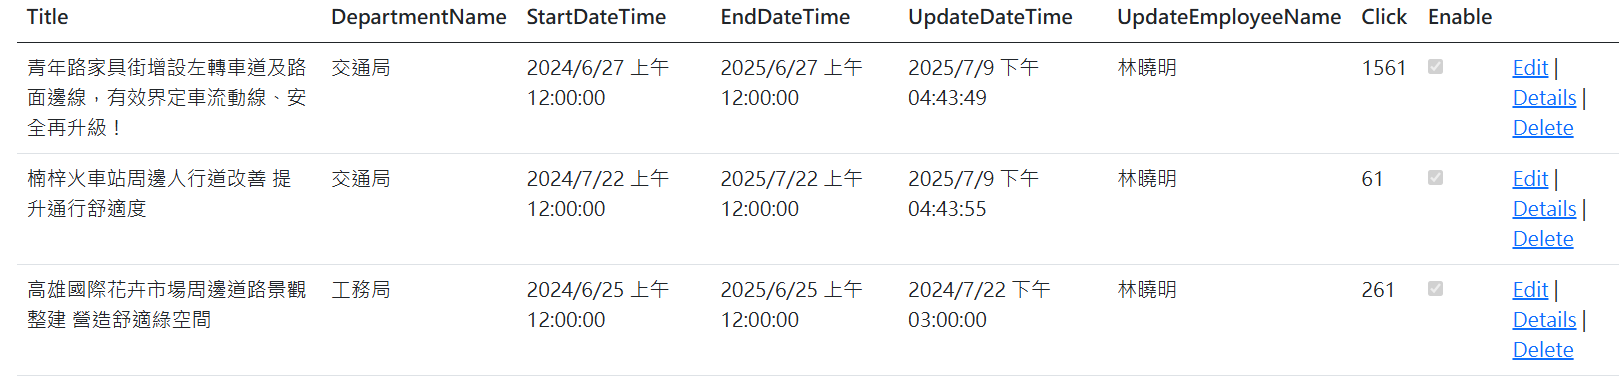
再試試用TalllKai改一遍

再試試新增

都正確的寫上登入的使用者,代表我們真的成功的取得登入者的資訊
用這個方式,不管在哪裡都可以取得當初登入時設定該使用者的資訊
範例檔:下載